Granola Doesn’t Have to be Complicated
Are you tired of spending $8-$12 on small bags of store-bought granola that never have the right combination of ingredients? This easy homemade sourdough granola recipe solves the problem by transforming your kitchen staples and sourdough discard into deliciously clustered homemade granola at a fraction of the cost.
For me, it’s all about the crunch. I like to chew my food. Maybe that makes me weird. But yogurt and oatmeal don’t feel like a full meal without something to crunch on! What makes this recipe special is the addition of sourdough starter. It helps create crunchy clusters and is a perfect way to use up some extra sourdough starter.
Time needed: 15 minutes prep + 1-2 hours baking time (depending on oven type)
Skill level: Beginner-friendly
Makes: Approximately 6 cups (12 servings)
Essential Ingredients for Perfect Granola Clusters
This granola recipe is simply a guide. Use the ingredients you have and like. To build a great granola, use a balance of these core components:
Base Ingredients
- Oats – rolled oats provide the best texture (gluten-free certified if needed)
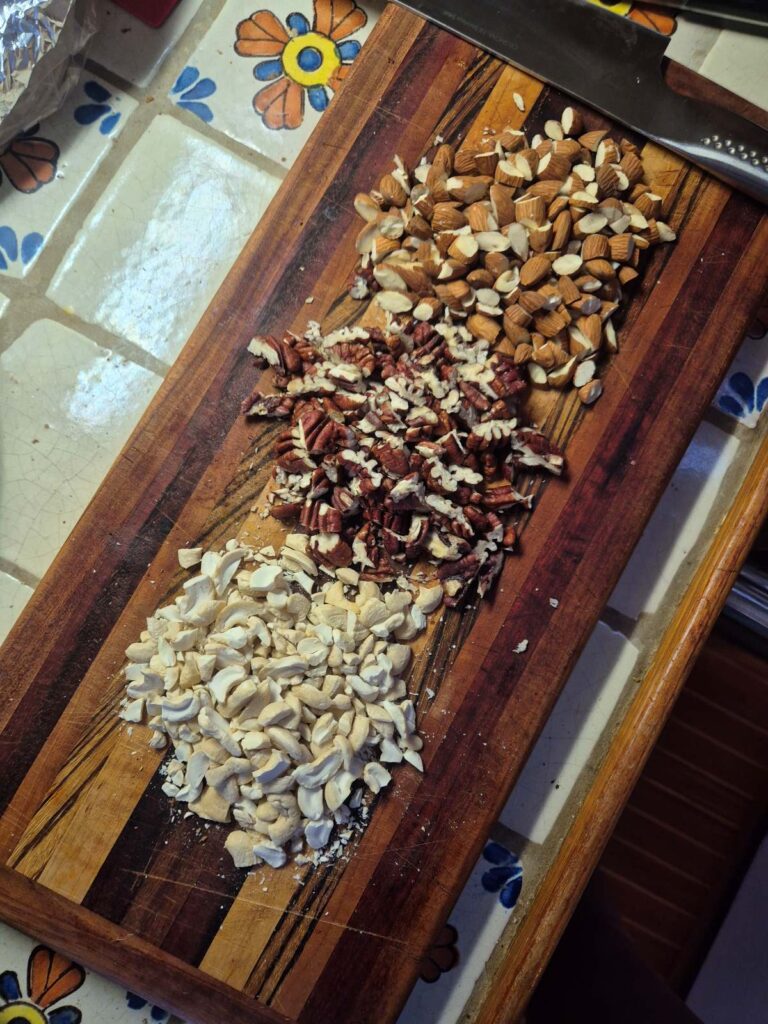
- Nuts and seeds – add protein, healthy fats, and that essential crunch factor. Consider using raw varieties since they will be toasted in the oven, or add them towards the end of the baking time.
- Binder – the sourdough starter is the secret to achieving those perfect crunchy clusters
Flavor Enhancers
- Natural sweeteners – maple syrup, honey, agave syrup, coconut sugar, or brown sugar add complexity compared to plain white sugar
- Warm spices – cinnamon, vanilla, and a pinch of salt enhance the flavor profile, measure with your heart!
- Mix-ins – dried fruits, chocolate chips, or coconut flakes for variety and additional texture
How to Make Sourdough Granola: Step-by-Step
The key to perfect granola is in the technique. Follow these steps for consistently crunchy results:
- Mix wet ingredients thoroughly first – This ensures even coating
- Add dry ingredients to the same bowl – Fold everything together until completely coated
- Spread in an even, thin layer – About ¼ inch thickness works best for even toasting
- Bake low and slow – 250-275°F (120-135°C) prevents burning while developing flavor
- Note on Solar Oven baking: I’m using the Go Sun Fusion, which can reach temperatures over 300 degrees after about an hour in full sun. To temper the heat, tilt the oven straight up so it is not sitting directly in line with the sun. Also, try stirring more frequently towards the end of the baking time.
- Stir regularly – Every 10-15 minutes keeps everything toasting evenly
- Cool completely – The granola continues to crisp as it cools
Ideas to Customize Your Sourdough Granola
This recipe is incredibly versatile. Here are some popular variations:
Nut-Free Option
Replace all nuts with seeds like pumpkin seeds, sunflower seeds, hemp hearts, and chia seeds.
Chocolate Lover’s Version
Add ½ cup dark chocolate chips after the granola has completely cooled.
Seasonal Variations
- Fall Harvest: Add dried apple pieces and increase cinnamon
- Tropical: Include dried mango or pineapple, and toasted coconut flakes
- Berry Blast: Mix in freeze-dried berries after baking
Storage Tips for Maximum Freshness
Properly stored homemade granola will maintain its freshness and crunch for months:
- Cool completely before storing to prevent condensation
- Store in an airtight container at room temperature
- For longer storage, keep in the freezer for up to 6 months
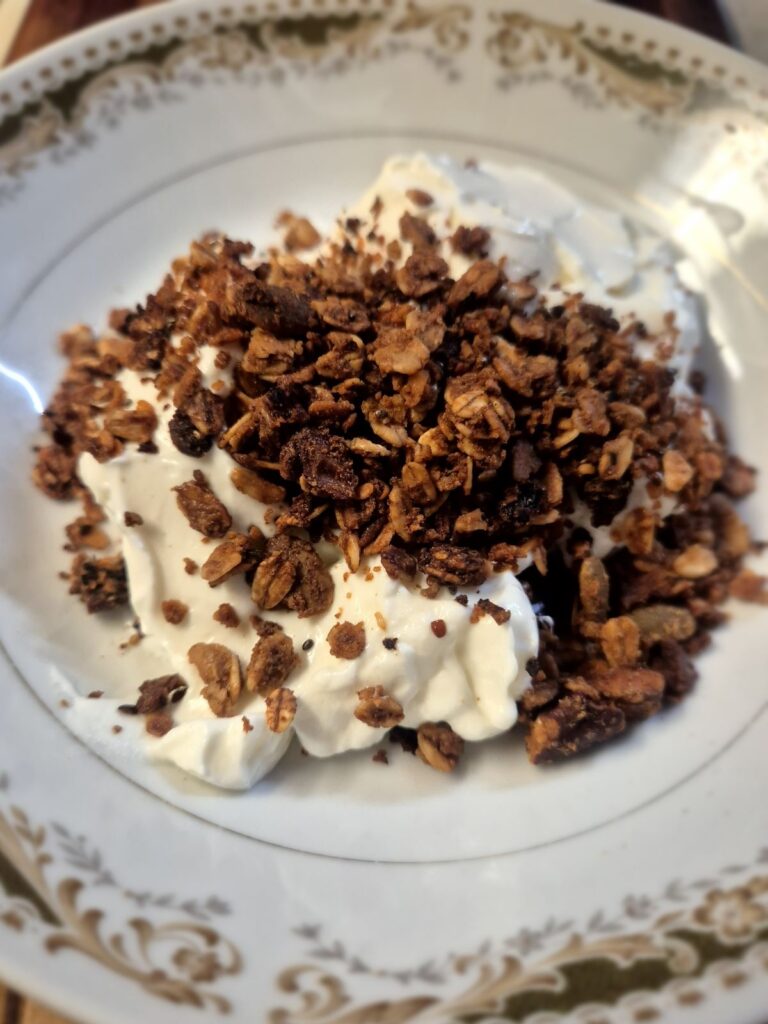
Ways to Enjoy Your Homemade Granola
- Eat by the handful as a satisfying snack
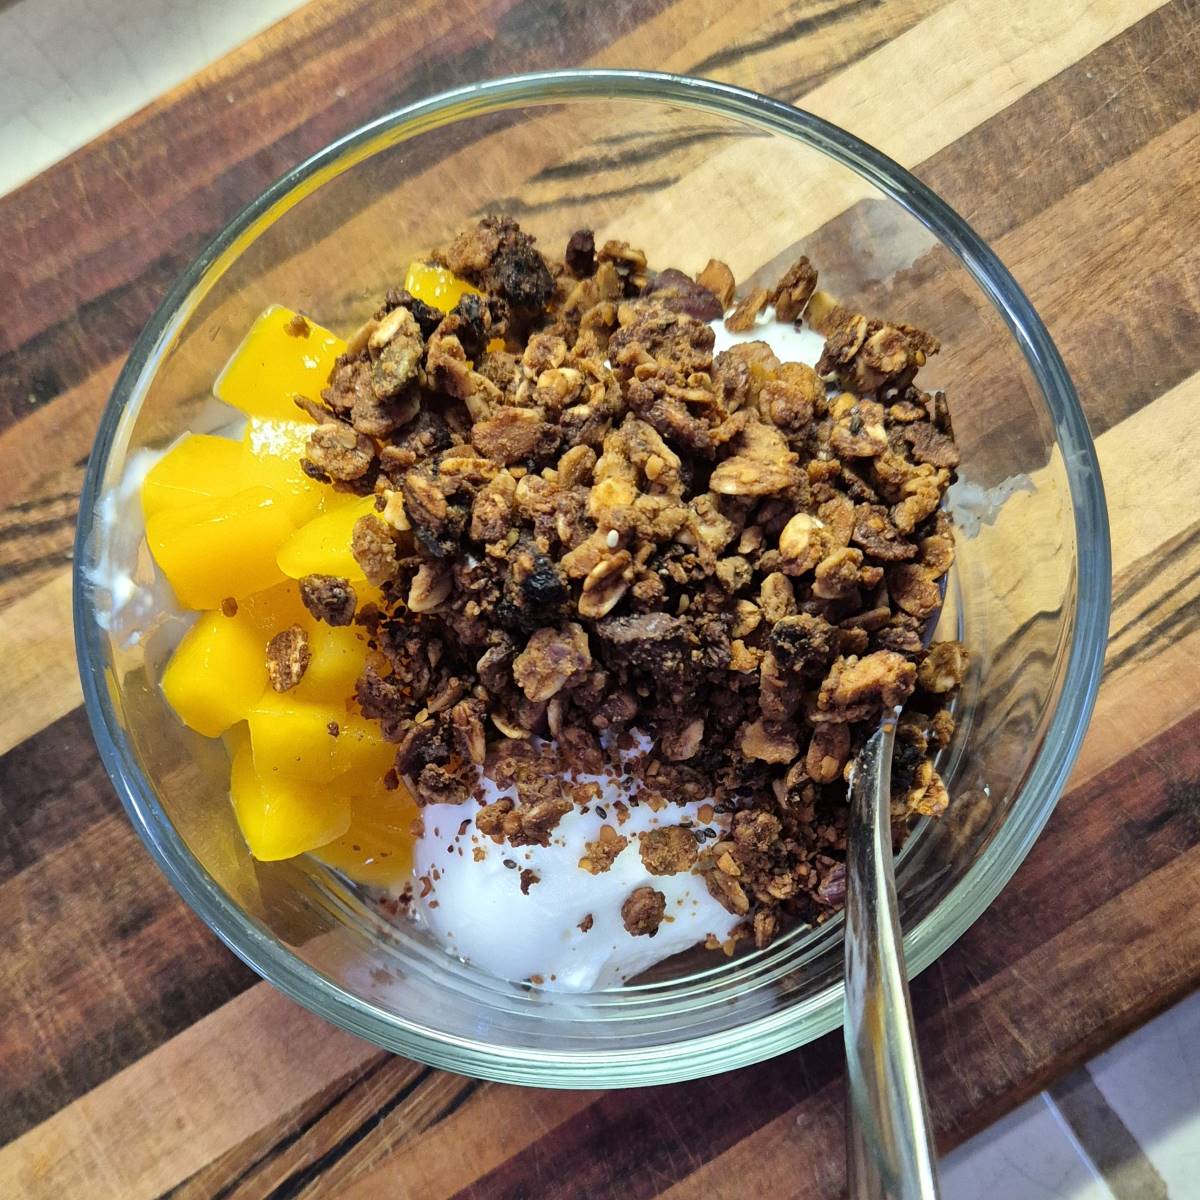
- Sprinkled over Greek yogurt with fresh fruit
- As a crunchy topping for smoothie bowls
- Mixed into overnight oats for added texture
- Sprinkled over ice cream for dessert
Easy Homemade Sourdough Granola
Equipment
- Solar Oven optional
Ingredients
- 1 cup sugar/sweetener I typically use ½ c brown sugar and ½ c maple syrup. Honey, agave, raw sugar etc., will all work. Avoid fine white sugar as it tends to cause the granola to burn.
- ½ cup sourdough starter optional
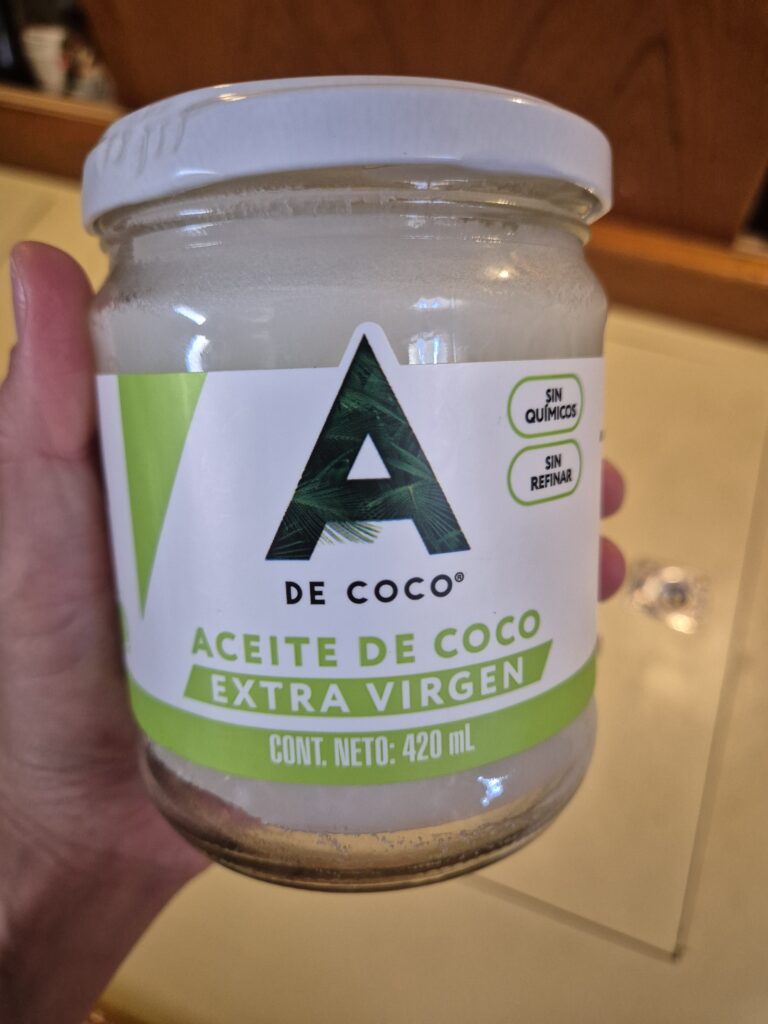
- ⅓ cup almond butter or oil of choice Peanut butter or any other seed/nut butter will also work. If using oil, I will often use melted coconut oil, but whatever you have is fine. (You can also use melted butter here if you prefer.)
- 1 tsp vanilla
- 1 tsp ground cinnamon
- 1 pinch salt
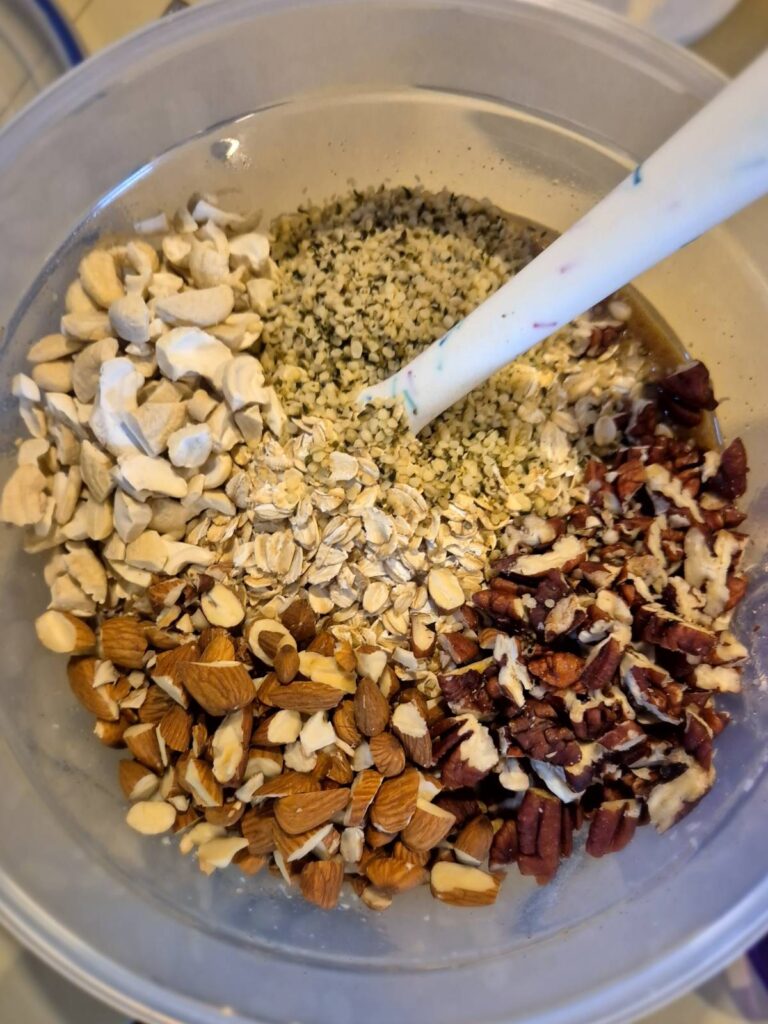
- 2 ½ cups oats
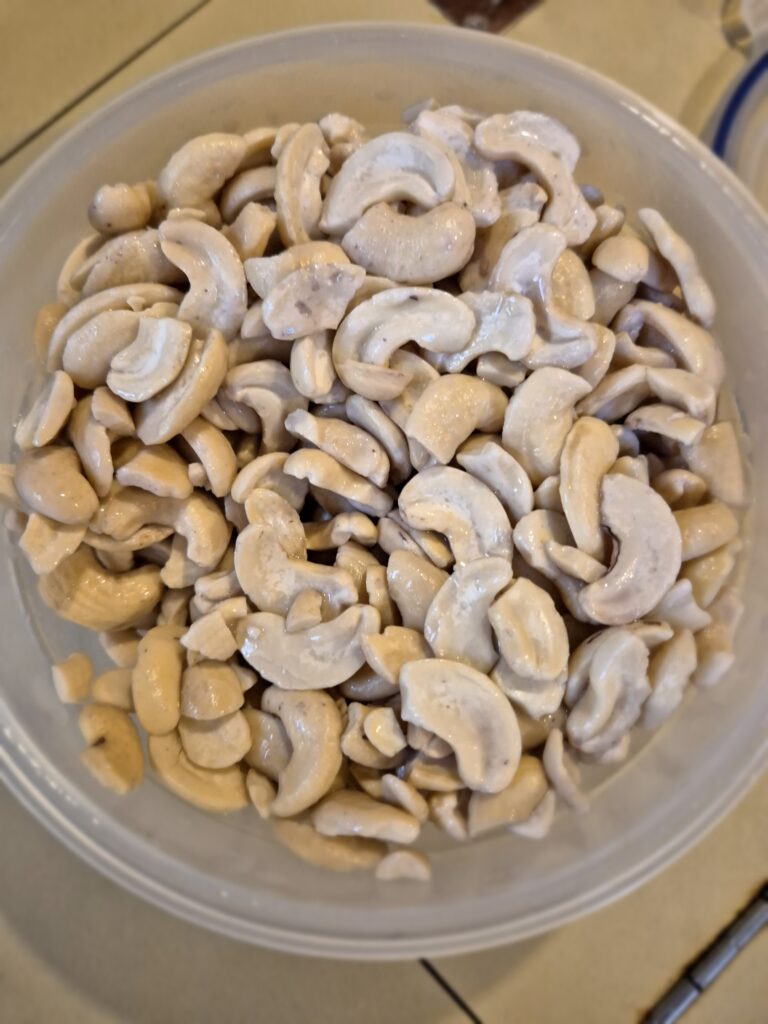
- 2 cups nuts and/or seeds for this batch I used cashews, almonds and pecans which I roughly chopped and ¼ c hemp seeds. For nut free use all seeds, for example 1 c pepitas, ½ c sunflower seeds, 1/4 c hemp seeds and 1/4 c chia seeds
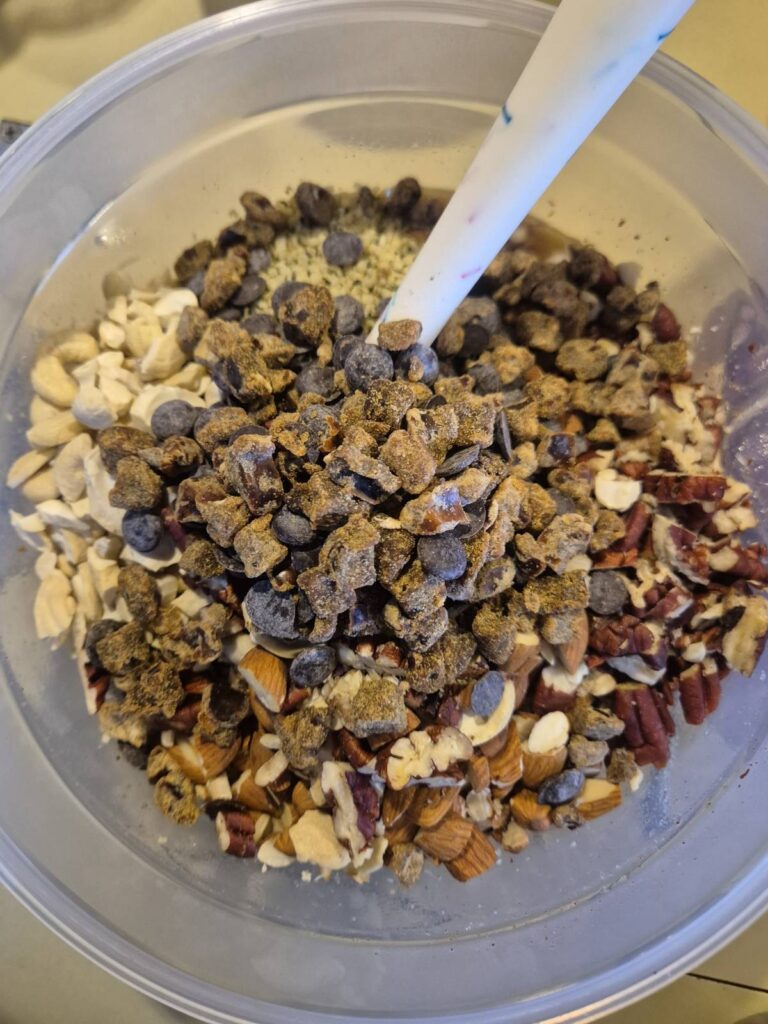
Optional flavor add ins:
- ½ cup chopped coconut
- ½ cup chocolate chips
- ½ cup dried fruit I used chopped dates for this batch
Instructions
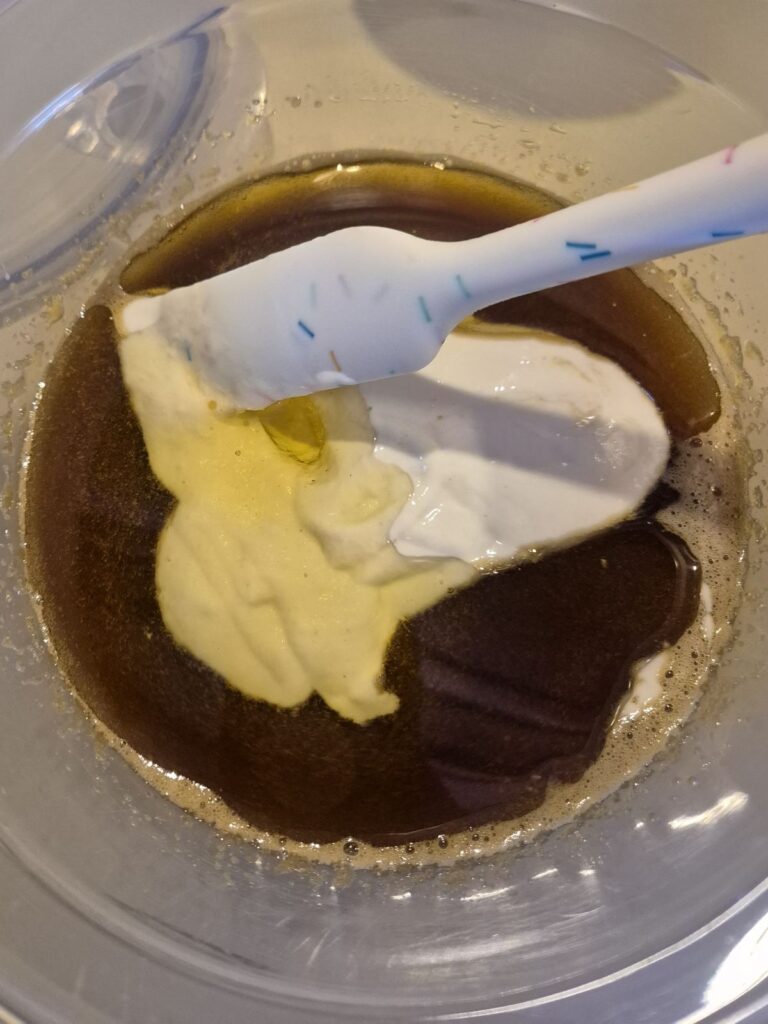
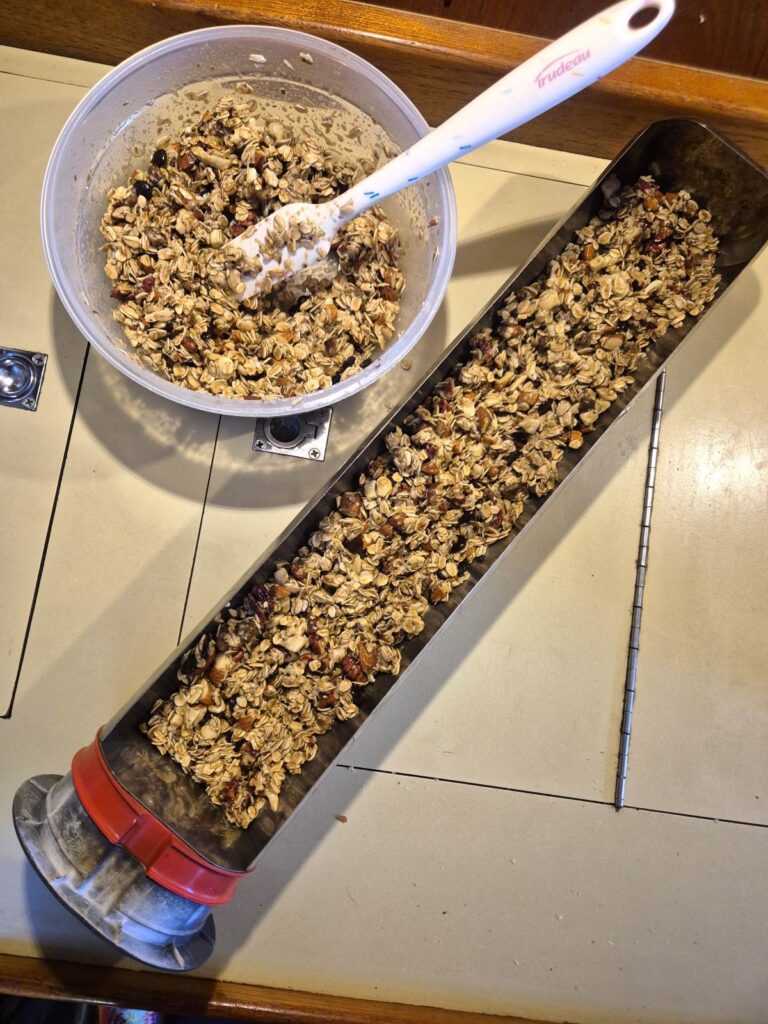
- In a large bowl stir together wet ingredients: 1 cup brown sugar (or your sweetener of choice), 1/2 cup sourdough starter if using, 1/3 cup nut butter or oil, 1 tsp vanilla and 1 tsp ground cinnamon. Mix until no clumps remain.
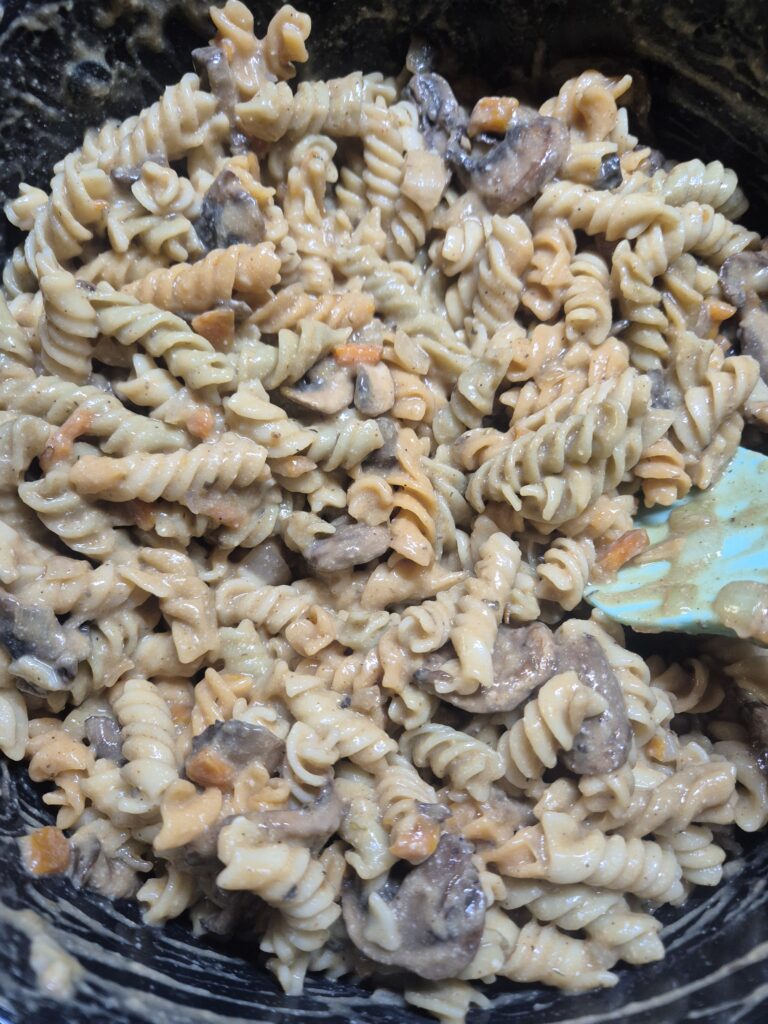
- Add the dry ingredients to the same bowl: 2 cups nuts and seeds, 2 1/2 cups oats, a pinch of salt, and any flavor add-ins. Mix the dry ingredients into the wet until everything is well-coated.
- If using a standard oven, turn it on to 275°F, no need to preheat.
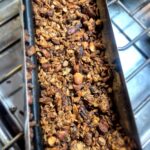
- Spread the mixture onto a large baking sheet or into your solar oven tray. Depending on the size of your oven, you may need to do this in multiple batches. You want the layer of granola to be about 1/4 inch thick so everything will be evenly toasted. In my GoSun Fusion solar oven (see below for link), I split this recipe into 2 batches for baking.
- Standard Oven: Place baking tray in the oven and set a timer for 15 minutes. Check the tray and stir the granola in 15-minute intervals until it becomes golden brown and crispy, usually about 1 hour total in a home oven. If you are cooking in a boat oven, which often have hot spots, you may want to check and stir every 10 minutes and turn the tray each time.
- Solar Oven: For the solar oven, I find it needs longer to warm up, so I usually wait 30 minutes before the first stir and then begin stirring in 15-minute intervals. The total time in the solar oven is typically about 2 hours in full sun.
- Remove the granola from the oven once it is toasted to a golden brown. Allow to cool for at least 10 minutes before eating and fully cool before storing. Makes about 6 cups total of granola or 12 1/2 cup servings. Granola will last for several months stored in an airtight container.
Nutrition Information (per ½ cup serving)
- Calories: ~280
- Protein: ~7g
- Carbohydrates: ~30g
- Fiber: ~4g
- Sugars: ~12g
- Fat: ~15g
Frequently Asked Questions About Sourdough Granola
Can I make this granola without sourdough starter?
Yes! If you don’t have sourdough starter, substitute with 2 tablespoons extra nut butter or oil plus 2 tablespoons water or milk. You’ll still get clusters, though they may not be quite as pronounced.
Is this granola gluten-free?
This recipe can be gluten-free if you use certified gluten-free oats and ensure your sourdough starter was made with gluten-free flour.
How can I reduce the sugar content?
You can reduce the sweetener by up to half, though this may result in less clustering.
Can I make this granola in a dehydrator?
Absolutely! Spread on dehydrator trays and dry at 145°F for approximately 4-6 hours, rotating trays periodically.
How do I know when my granola is done baking?
The granola should be golden brown and feel dry to the touch, though it will continue to crisp as it cools.
Leave a Comment
Have you tried this sourdough granola recipe? What’s your favorite granola combination? Share your experience or questions below!