Time needed: 20 min
Makes: Enough for 6-8 people. (Estimate each large avocado will serve 2 people)
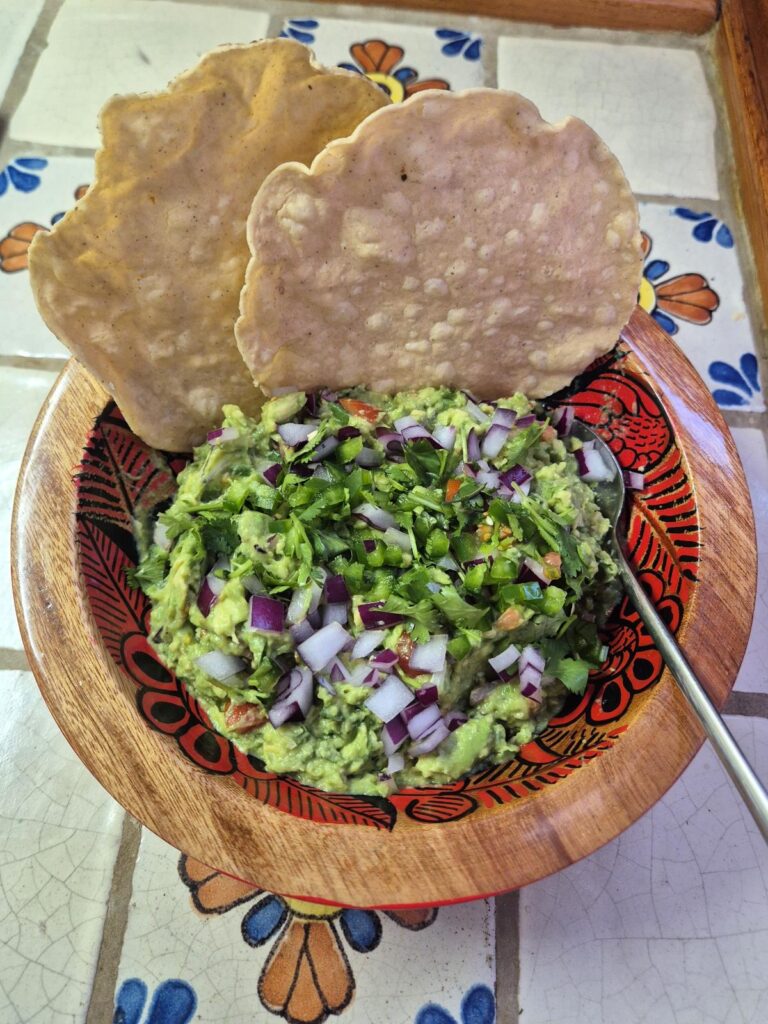
Mom’s Famous Crowd Pleasing Guacamole
My mom is well known among her friends for making the best homemade guacamole. When asked to bring it to a gathering, no matter how much she makes, it’s almost always the first appetizer to disappear. Growing up in Tucson, Arizona where Mexican food is synonymous with the culture it’s no surprise this mastered skill was so highly rated. Especially, when we moved to rural Pennsylvania – where good Mexican food was nearly impossible to find.
I can still picture my mom standing at the kitchen counter expertly slicing through ripe avocados. She didn’t need a recipe card or measuring spoons – just her hands, senses, and years of perfecting the technique. “The secret is in the order you mix the ingredients,” she tells me. This wisdom, passed down in our kitchen over countless batches of guacamole, has become one of those life skills I never realized was special until I tasted sad, bland versions made by others.
From Skeptic to Convert
I have to admit, it took my palate some growing up to appreciate this treasured dip. As a kid, I thought the texture strange and the green color didn’t exactly appeal either. My mom would smile knowingly whenever I’d scrunch my nose at the bowl of green mush, saying, “Someday you might like it.” And, someday I did. As a teenager, it seemed anything I could eat with tortilla chips became my favorite foods – and, not much has changed honestly. Avocados have been on my favorite foods list for years now. I was making avocado toast at home LONG before it became a trend at brunch restaurants.
The “Non-Recipe” Recipe
When friends started asking me for “the recipe” after I brought guacamole to gatherings, I found myself at a loss for words. I’d sort of taken the knowledge of the guac making process for granted. Of course like most of my recipes, it’s made by feeling, not measuring. So, I’ve put together a guide that captures the basics of our family guacamole tradition. The key is starting with beautifully ripe avocados, fresh garlic, lime juice and some flaky salt. ¡Provecho!

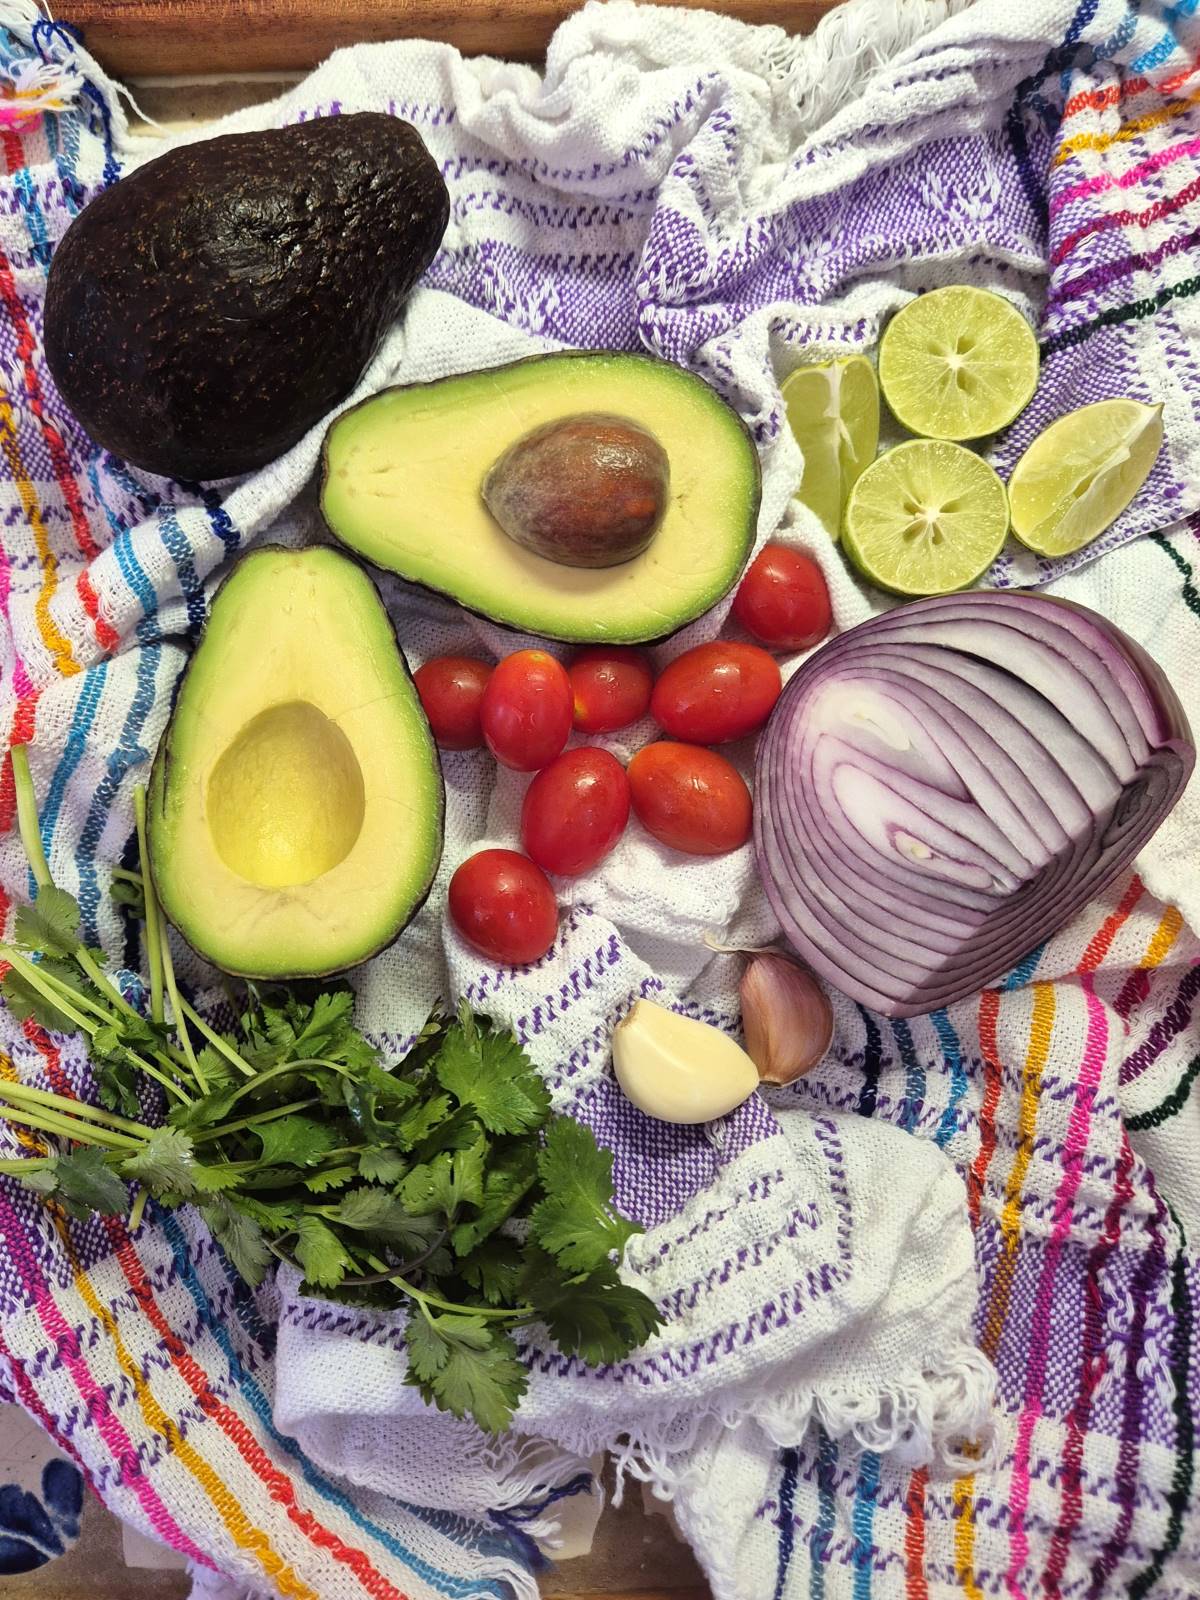
Ingredients:
- 3-4 perfectly ripe avocados (they should yield to gentle pressure but not feel mushy)
- 2-3 cloves of fresh garlic, finely minced or grated on a microplane
- Juice from 1-2 fresh limes (never bottled!)
- Flaky sea salt (we use Maldon, but any good quality salt works)
- Optional but recommended: a small handful of finely chopped cilantro
- For heat lovers: half a jalapeño, seeds removed and finely diced
- More optional additions: finely diced tomato, finely chopped red onion
How to make the best homemade guacamole:
- In a large bowl add the minced garlic (about ½ tsp worth for each avocado) and lime juice (about 1 tsp per avocado).
- Cut avocados in half, carefully remove the seed and scoop the flesh into the bowl with the garlic and lime.
- Sprinkle in a pinch or 2 of flaky salt.
- Using a fork mash the avocado, mixing it in with the garlic, lime and salt to your preferred consistency. In our family, we like it pretty chunky.
- Taste as you go – proper salting is what separates good guac from transcendent guac
- Fold in any optional ingredients
- Give it a final taste, adjusting lime and salt as needed
Carrying on the Tradition
Now when I serve our authentic guacamole at a gathering, I feel a special connection to my mom and our shared kitchen memories. I’ve watched the same scene play out countless times – the guacamole bowl gradually migrating to the center of the table as people discover it, the quiet exclamations of delight, and inevitably, someone asking for the recipe. These days, I smile and say, “It’s not so much a recipe, but I’ll share the basics.”
So if you try this “non-recipe,” remember that the measurements are just guidelines. The beauty of guacamole made by feeling rather than measuring is that you can adjust everything to suit your taste on that particular day. After all, the best family recipes aren’t about precision – they’re about love, memory, and the joy of sharing something delicious with people you care about. Would you like to share any special touches your family adds to make this guacamole so irresistible?
Mom’s Famous Crowd Pleasing Guacamole
Ingredients
- 3-4 large ripe avocados (the skin should appear more brown than green and yield to gentle pressure but not feel mushy)
- 2-3 cloves fresh garlic finely minced or grated on a micro-plane
- Juice from 1-2 fresh limes (never bottled!)
- Flaky salt (like Maldon or Kosher)
- ~1/4 cup finely diced onion (red onion is my favorite, but any onion will work)
- ~1/4 cup diced tomato, any kind (optional)
- Optional but recommended: a small handful of roughly chopped cilantro (If you don't have cilantro, I like to add a pinch of dried Mexican oregano, yes, it's different than Italian oregano, for a little extra pop of flavor)
- For heat lovers: one jalapeño seeds removed and finely diced
Instructions
- In a large bowl add the minced garlic (about ½ tsp worth for each avocado) and lime juice (about 1 tsp per avocado).
- Cut avocados in half, carefully remove the seed and scoop the flesh into the bowl with the garlic and lime.
- Sprinkle in a pinch or 2 of flaky salt.
- Gently mash the avocado and salt into the lime and garlic with a fork to your desired consistency – I like to leave mine chunky as it will break down even more when you mix in the rest of the ingredients.
- Taste as you go and add salt and lime as needed – proper salting is what separates good guac from transcendent guac.
- Allow this mixture to sit and marinate while you prepare the rest of the ingredients.
- Finely dice your onion and any optional ingredients like tomato and jalapeno. Add these to the bowl.
- Chop a small handful of cilantro leaves and tender stems and add them to the bowl or add Mexican oregano now if using.
- Gently stir everything together until combined.
- Grab a chip or spoon for a final taste. Add more salt, lime, or spice if desired.
- Enjoy right away or within a couple of hours. See below for how to store if not serving immediately.
- To store or travel, place plastic wrap directly on the surface of the guacamole – press it flat so there is no air between the guacamole and the plastic wrap. Even if you have a lid for your container, put the plastic wrap on first, as exposure to the air will turn the avocado brown.
Video
Frequently Asked Questions:
How do you pick ripe avocados for guacamole?
Choose avocados with skin that appears dark brown in color, with almost no green left. If the small stem is still intact it should pop off easily. Do not squeeze the avocados, but, if you press very gently with one finger it should give slightly, not feel hard. If it feels very soft or leaves an indent the avocado is past it’s prime.
How to store avocados?
If buying avocados ahead of time choose dark green avocados that do not feel soft. To speed the ripening time store them near bananas or in a brown paper bag. To slow ripening time, place them in the fridge.
What makes guacamole taste better?
Salting the avocados first and adding the garlic directly to the lime juice to temper any possible bitterness. Trust your taste buds, every avocado is slightly different in flavor and richness. Sometimes you’ll need more lime, sometimes more salt. Taste, adjust, taste again.
Can you make guacamole ahead of time?
You can make this authentic guacamole a few hours ahead but any longer than that and you won’t be able to prevent the avocados from beginning to brown.
How do you keep guacamole from turning brown?
Smooth the top with a spoon and add a thin layer of lime juice. Press plastic wrap directly onto the surface, and refrigerate for no more than a few hours.